Step-by-step guide for making your own candles
Want to make scented candles but don't know how to get started? Don't worry; it is super easy as long as you have the candle making supplies you need and some basic instructions. The good news: We've got you covered with both and will help you get started with your DIY candle making project.
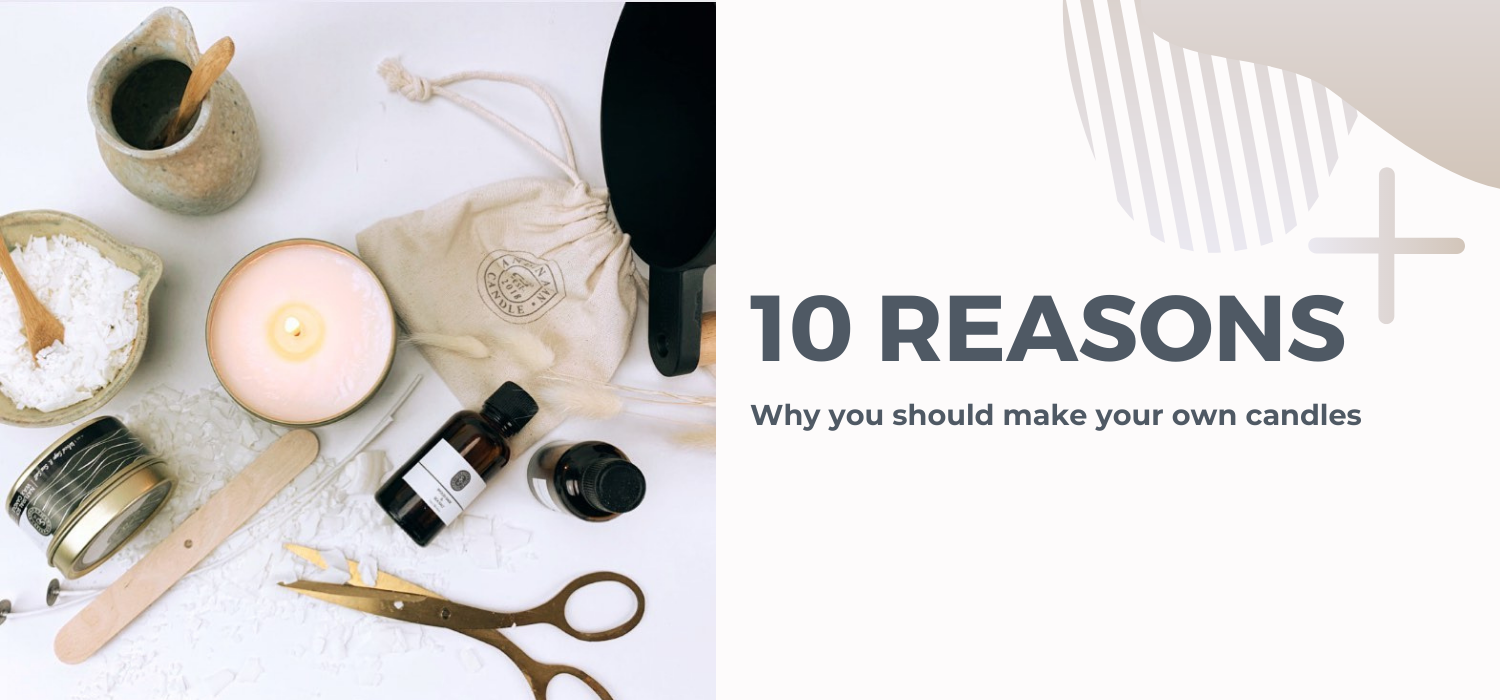
What are the supplies needed to make your scented soy candle?
Having the right supplies is a big part of the candle-making process. In our kit, we include all the below components:
- Melting and pouring pitcher for melting and pouring the soy wax
- Candle tins (or other candle containers such as glass jars). tins for candle making
- Candle wicks (we recommend organic cotton wicks, but also wooden wicks can be used)
- Wick holders or centering device (to keep the wick straight)
- Wick stickers to attach the wicks to the candle container (also possible to use a glue gun)
- Soy wax for candle making
- Thermometer for candle making
- Candle Fragrance oil for candle making
- Stirring stick (or a spoon) for mixing the fragrance oil in the melted wax
- Warning labels and labels for decoration (at least if you think about making candles to sell)
In addition, you would need access to:
- A workspace with access to a stovetop.
- A saucepan that is big enough for the pouring pitcher.
- A kitchen scale for weighing the wax
These should be the basics to get you started. Now, let's look at the candle making process next.
The ten steps for making your homemade candle
Step 1: Prepare your workspace for candle making
Step 2: Prepare the candle containers
Step 3: Measure the right amount of candle wax
Step 4: Heat the wax flakes
Step 5: Melt the wax to the right temperature
Step 6: Add the candle fragrance oil
Step 7: Pour the wax
Step 8: Let the candle cure
Step 9: Trim the wicks
Step 10: Add labels to the candle and enjoy
Step 1: Prepare your workspace for candle making.
The ideal ambient temperature when making candles is between 66℉ and 77℉ (19℃ and 25℃). Unpack your candle making kit and organize the supplies. Prepare a saucepan by filling it with water and putting it on the stovetop. Keep some paper towels available in case you need to wipe any spilled wax. If you need to measure fragrance oils, it is recommended to use safety gloves.
Read here for a few more tips about setting up your workspace.
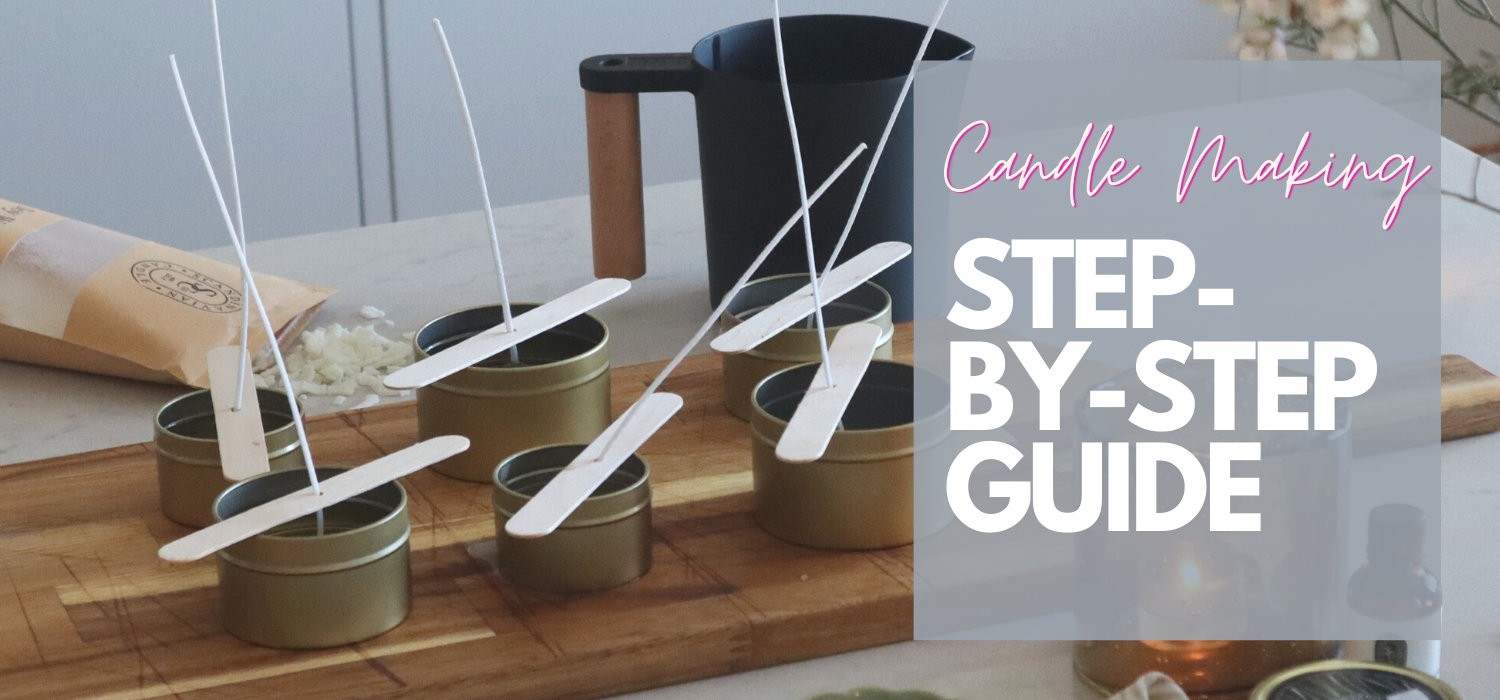
Step 2: Prepare the candle tins.
Place a candle wick inside the center of each container using a wick sticker. Straighten each wick with your hand, and then use the wick holders to center and hold them in place. Getting the wick centered is essential for a good candle performance, so make sure you do your best here. We have made a wick centering indicator to maximize success in our candle tins.
Selecting the right wick is important for getting
Step 3: Measure the right amount of wax
Measure the right amount of soy wax, and put it in the pitcher. The right amount of wax to use for a candle depends on the size of the candle container and how much candle scent you will use. We usually measure this in weight, not volume. Read here for an easy way to calculate how much wax you need to make a candle based on the container you use.
Step 4: Heat up the wax.
Fill a boiling pan half full of water and put it on the stove. Heat the water using medium-high heat. You will want to place the pitcher with the wax inside it in the pan while the water heats up. Our candle melting pitcher has a bracket that makes it rest nicely on the edge of the sacucpan. You can adjust the pitcher's position by removing or adding water to the saucepan.
⚠ There should be water between the pitcher and the boiling pan to avoid overheating problems.
⚠ Avoid getting water into the wax to achieve the best possible result.
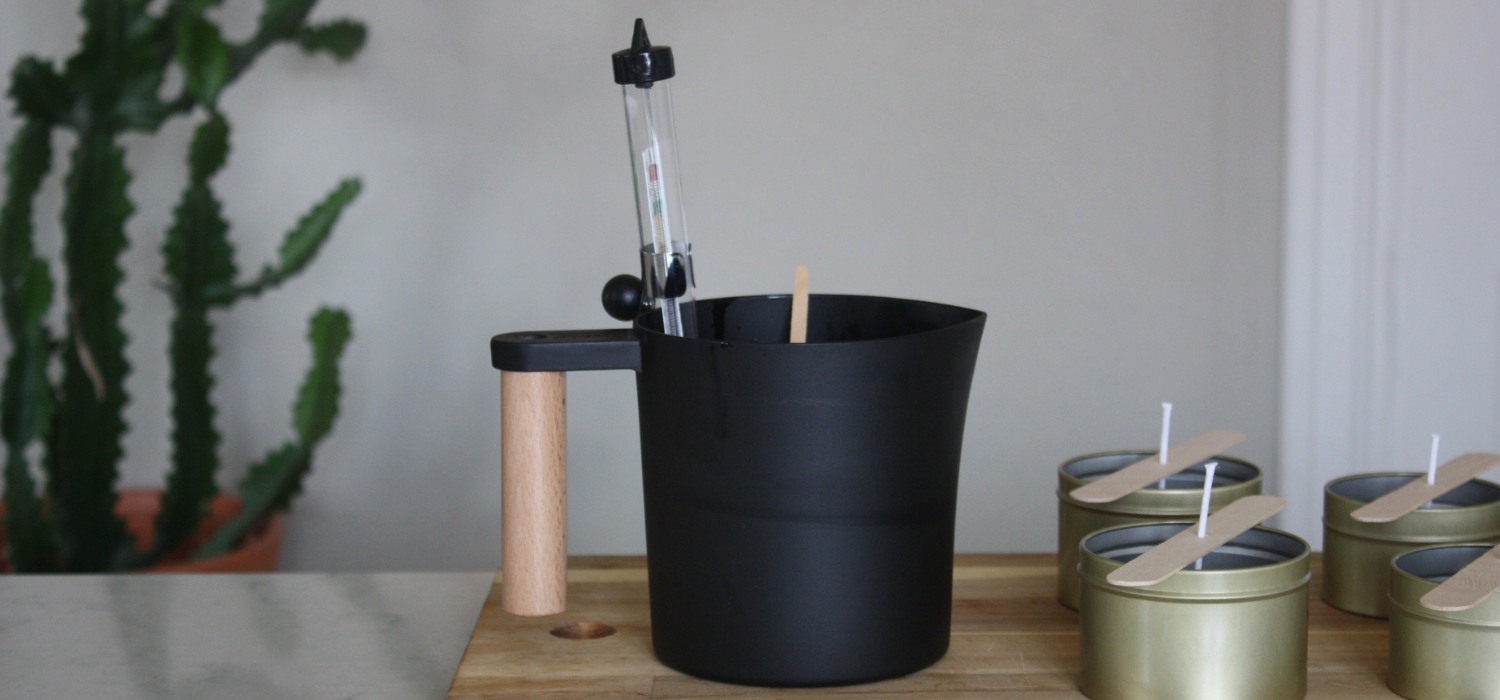
Step 5: Melt the wax to the right temperature
Heat the water until you see the wax starting to melt. Then attach the thermometer to the pitcher to monitor the temperature of the wax. Next, melt the wax until it is entirely liquid, heating it up to 190℉ - 195℉ (88℃ - 90℃). Once you reach the correct temperature, you will take the pitcher out of the boiling pan and place it on a heat-resistant surface.
We recommend using a thermometer for candle making to monitor the temperature at all times for the best result. Our thermometer is specially designed for candle making and has easy-to-read temperature zones for melting, when to add fragrance oil and when to pour the wax.
Step 6: Add the candle fragrance oil
Add the fragrance of your choice to the wax when the temperature at about 185℉ (85℃). Mix the scent with the melted wax using the stirring stick for about two minutes until you see that the wax and fragrance are blended.
Step 7: Pour the wax
Cool the wax down to about 135℉ (54℃). Pour it carefully into the candle jar. Make sure not to pour it directly onto the wicks. Be careful not to overfill the container.
Step 8: Let the candle cure
Step 9: Trim the wicks
After the candle has rested enough time to properly cool, you will need to cut the wick to the desired height with scissors. We recommend leaving only ¼ inch (6 mm) above the surface of the candle.
Step 10: Decorate the candle container and add warning labels
Make sure to add the warning label on the bottom. Use the additional stickers for decoration if you want to create a personalized finish.
Enjoy your candles!